hello!
Happy New Year!
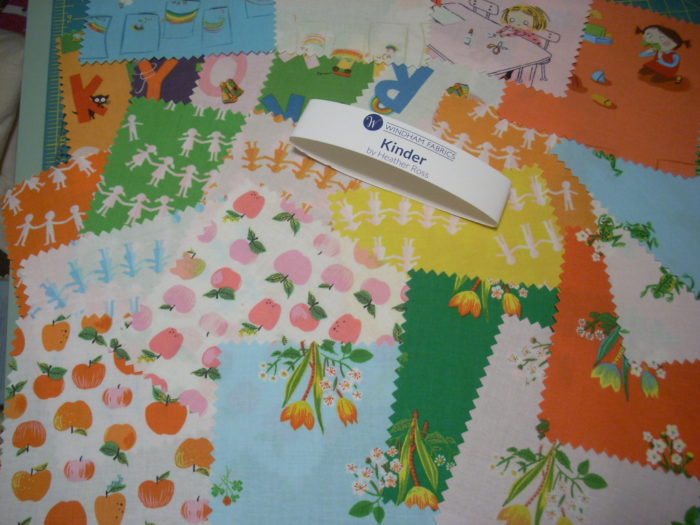
for this month’s project, I am going to share about the fun drawstring bag I made for Cedar for Christmas!
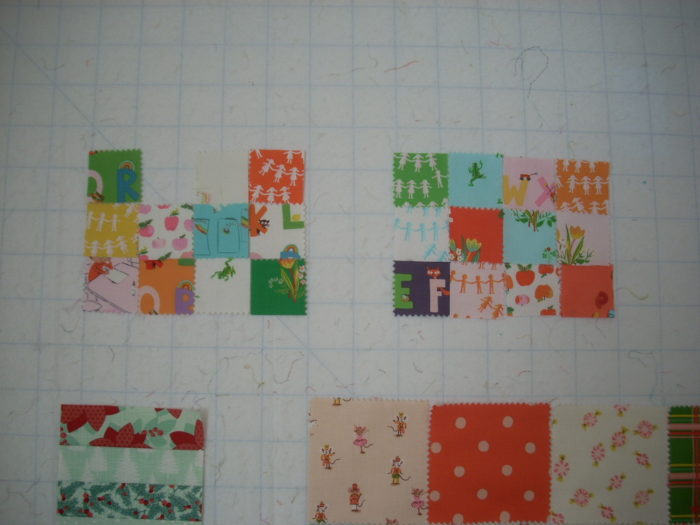
I started with some 2.5 inch squares…and sewed them into two panels like this for the front and back of the bag…

I then added a 2 inch strip on each side and a 3.5 inch piece across the top…
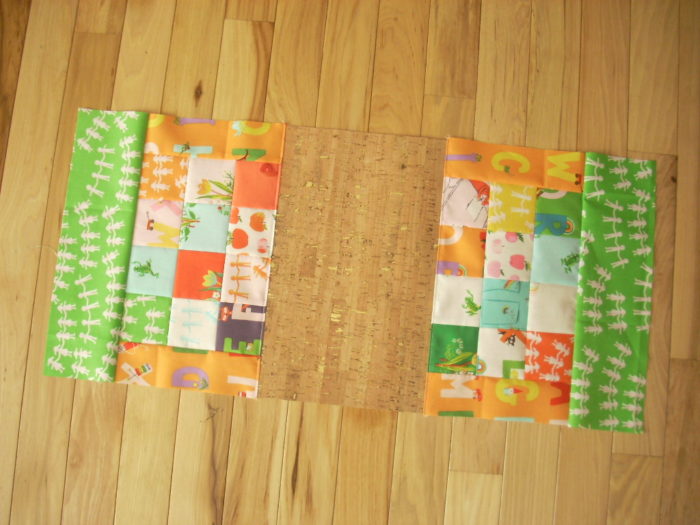
and because I am in love with cork…
I added a 11.5 x 7.25 inch piece for the bottom of the bag…
I sewed it into one piece as shown…

I sewed the sides together…and then came in 1.5 inches from the point and sewed across to make a box like bottom…

here you can see how my bag stands up…
you can also see a bit of my lining…
I wanted an accent piece across the top…so my top piece was 3.5 inches…
and I think (if I took notes correctly) my lining is 11.5 x 19.5 inches…
I sewed the sides of my lining together…leaving an opening in the side for turning later…

before sewing the lining and the bag together, I made a button hole on each side to feed the drawstring through…
so for my ties, I used a 2 inch width of fabric piece…
I folded it in half lengthwise and stitched it…
I made two sets…
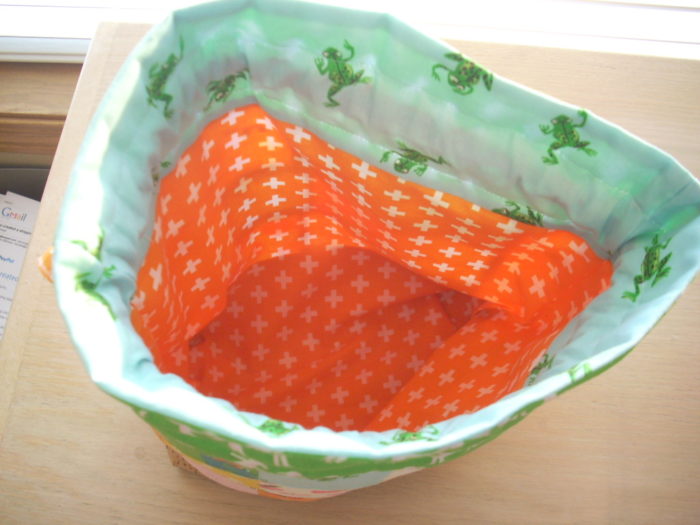
in this photo you can see my lining after I sewed it to the bag around the top edge, turned it right side out and closed up the opening…
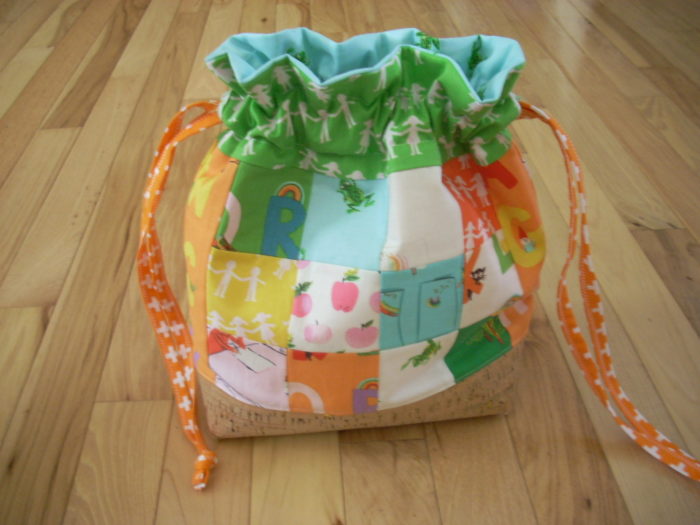
to make the casing for the drawstrings to feed in, I just sewed around using the buttonhole as a guide…
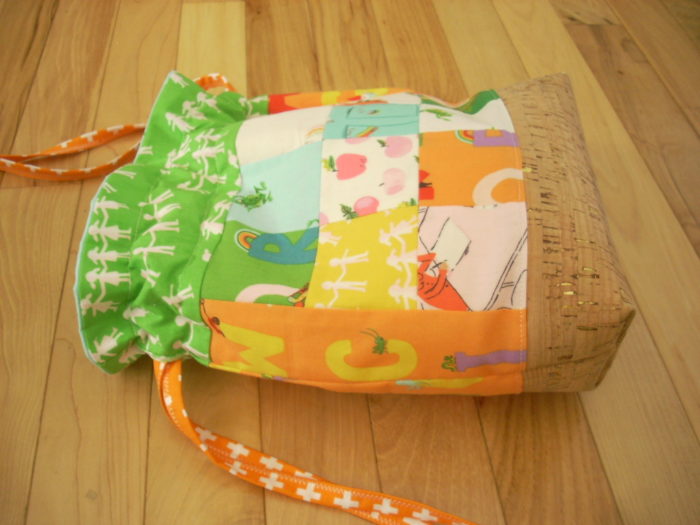
if some of this seems confusing…I did take a look at the tutorials on Jenni Baker’s In Color Order site for some good tips…

personally, I was thrilled with how this turned out!!
one of those projects that comes out just like you pictured it in your head!
if you have any questions…feel free to email me at brooke@sillymamaquilts.com
I wish you all a wonderful New Year!
Happy Sewing!
