hello!

my project this month features the gorgeous Flora & Fawn fabrics from Amanda Herring Designs along with some marvelous metallic cork from Windham Fabrics!
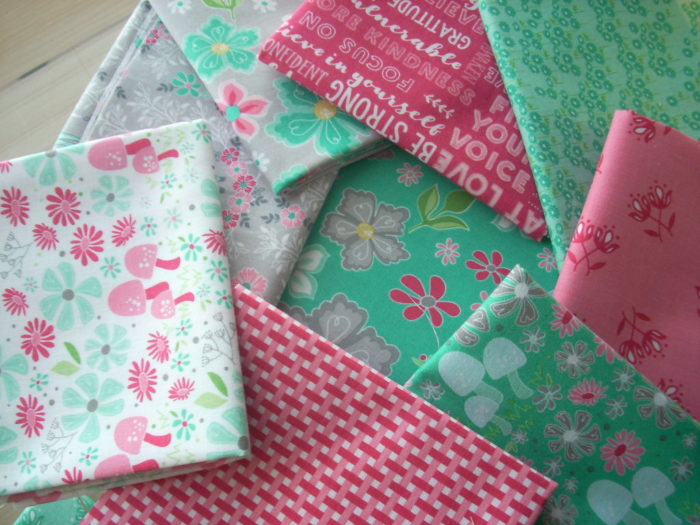
I selected these prints to get started with…
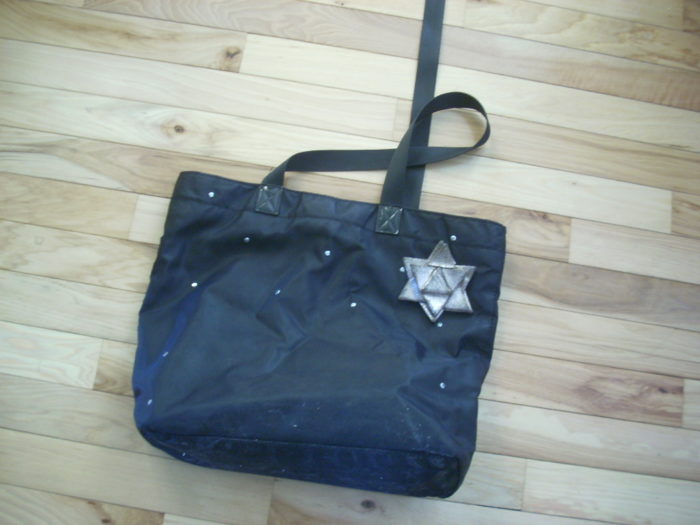
so, as many guessed on my blog, my project is to make a bag…
this is the inspiration for this project…
you see, I am not much of a multiple bag person, so when my main bag broke last week, I figured it was time to make something!
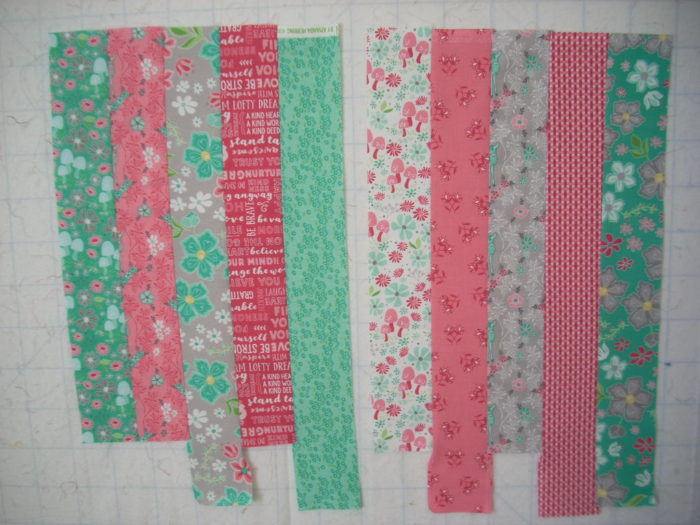
I began by cutting 3 inch strips and sewing them into these two units
I trimmed them and fused stiff interfacing to the backside…
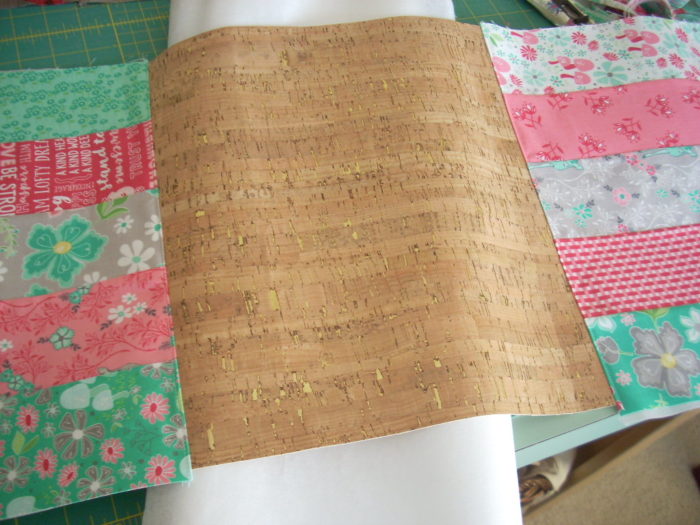
because I am in love with this metallic cork, I knew I wanted it for the bottom for added durability and for a great contrast!
I cut the cork to 12.5 x 13.5…I will say that I wish now I had cut it to 12.5 x 15, but I can always make another bag!
I sewed the panels to each side of the cork and trimmed them
make sure to pay attention if you are using directional fabrics!
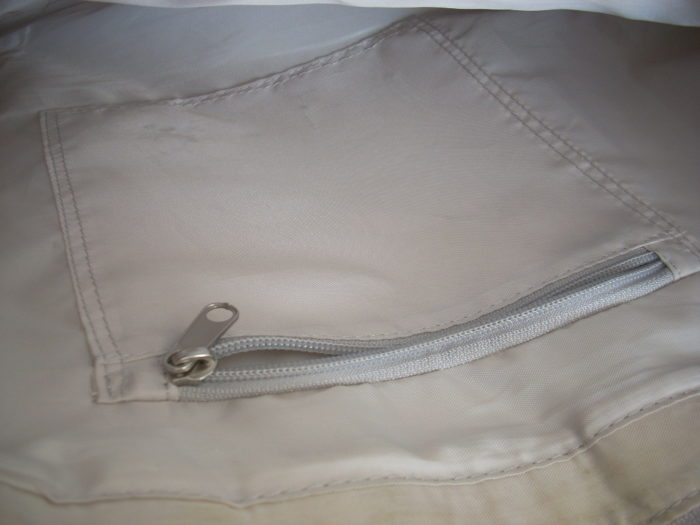
I knew I wanted to add a simple zipper pocket like this one for the inside…
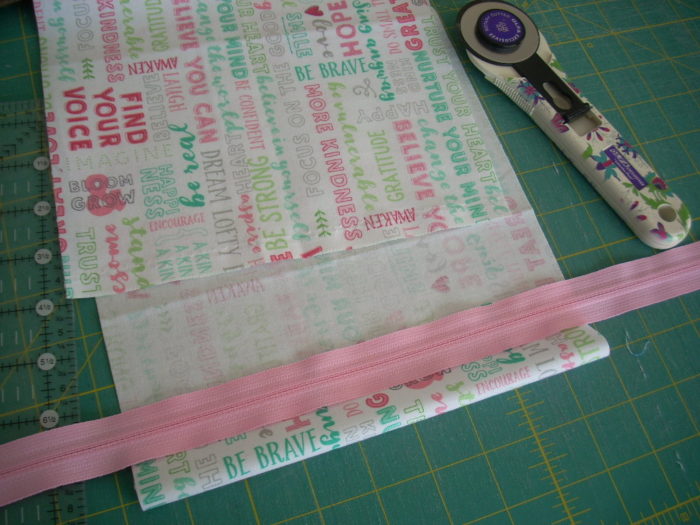
so I cut a strip 8.5 inches wide and began playing around with what size I wanted the pocket…
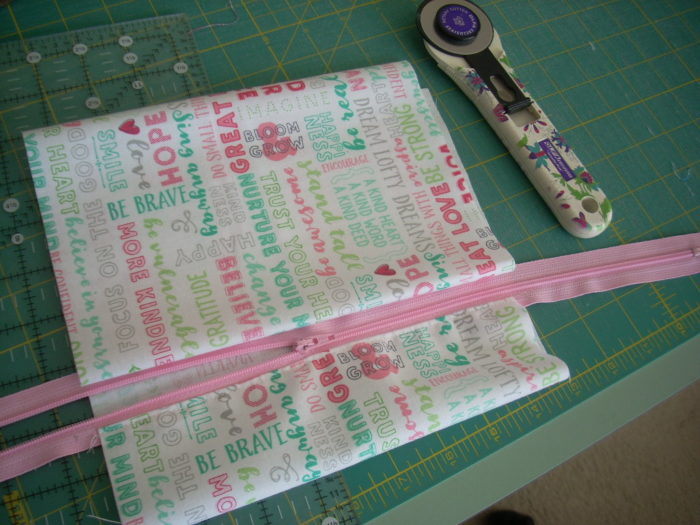
this is what I ended up with…
it isn’t lined, so it would be lightweight…
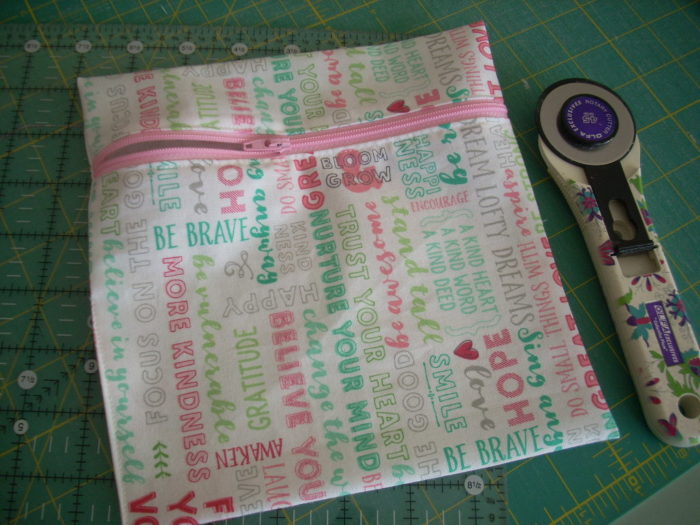
here is my finished pocket/bag – love it!!
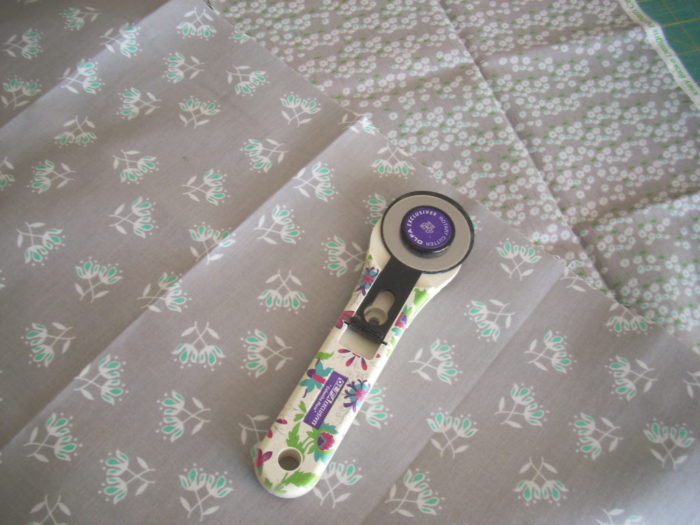
next I selected these two prints for the lining…
I cut them to the same width as the outside section and fused with interfacing and sewed them into one unit
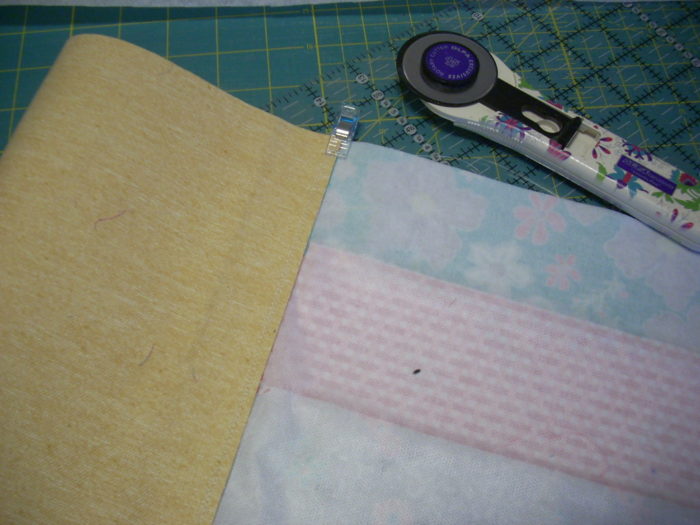
next I sewed up the sides of the outside of the bag
one tip here…I use binding clips with the cork – no holes from pins!
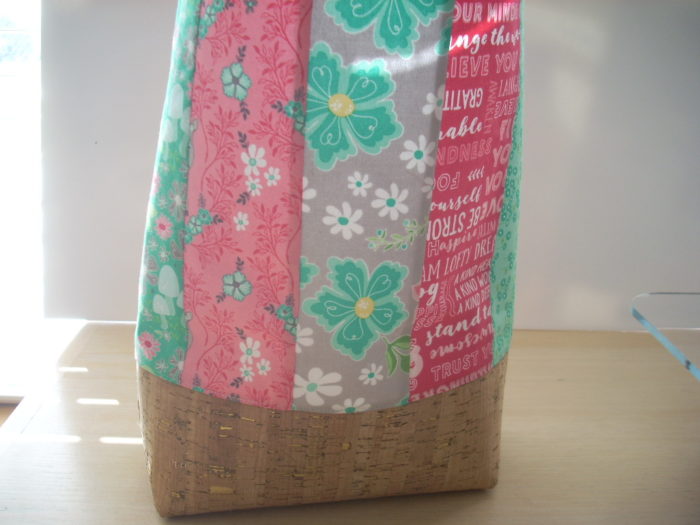
I made a box bottom by sewing 2 inches in from the corner on each side..
(if you are unsure how to do this…email me and I can try and explain it better!)
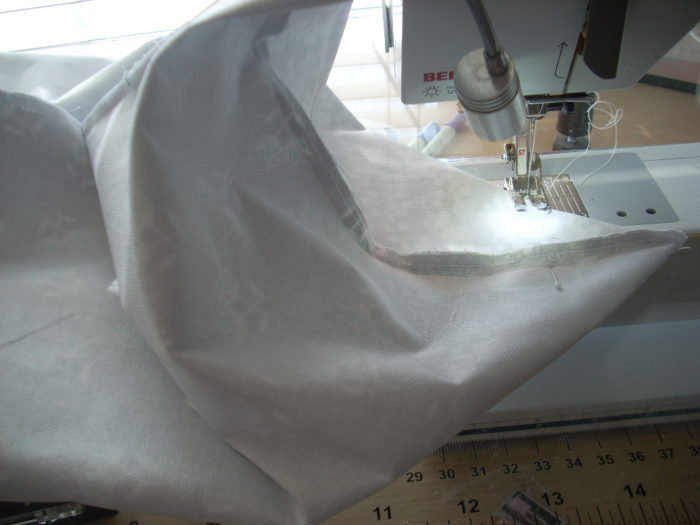
I repeated the steps for the lining – sewed up the sides, but I left an opening to turn the bag right side out and then boxed the bottom as you can see in this picture…
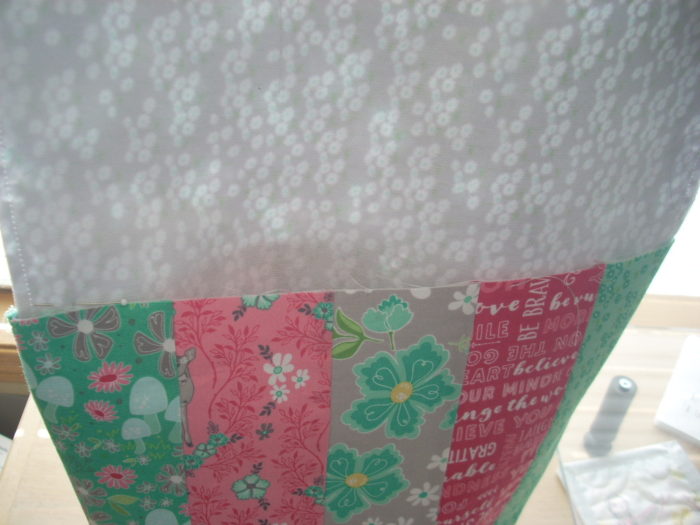
now I knew my lining was longer than my bag…
so I put them together to figure out how much to cut off…
I also knew that I wanted the seam where the outside joins the front to fold inside just a bit, so I cut the lining one inch shorter than the outside of the bag…
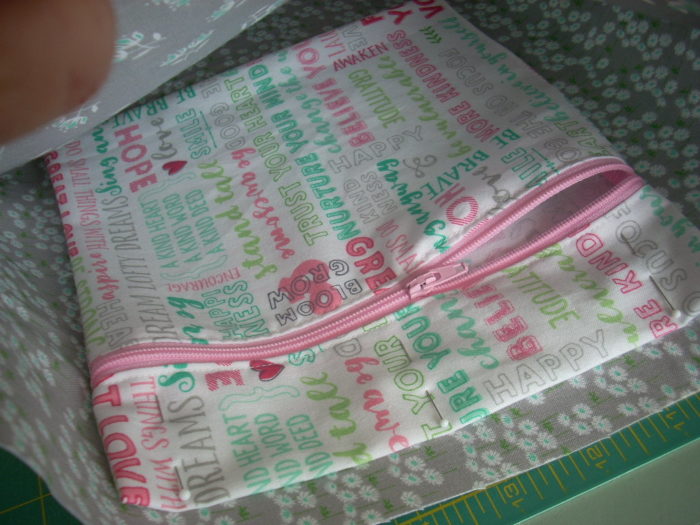
I then sewed in my cute little zippered pocket.
I sewed around the outside edge twice to make sure it was secure..
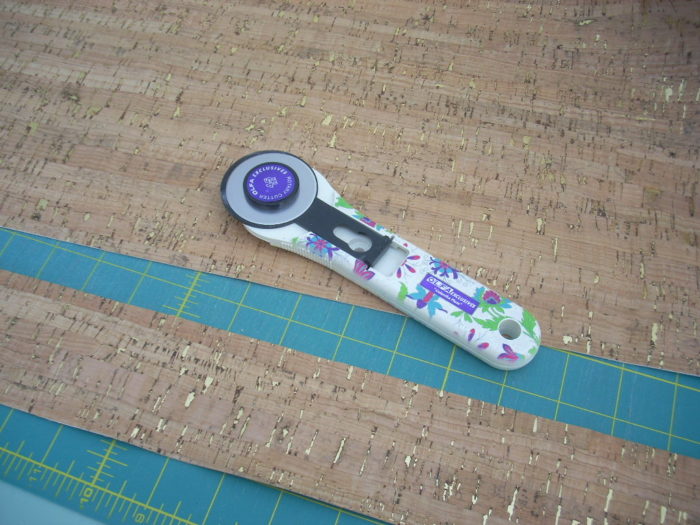
I cut two pieces from the cork 2.5 x 24 inches for the straps…
I folded them in half lengthwise and top stitched around the entire outside edge..
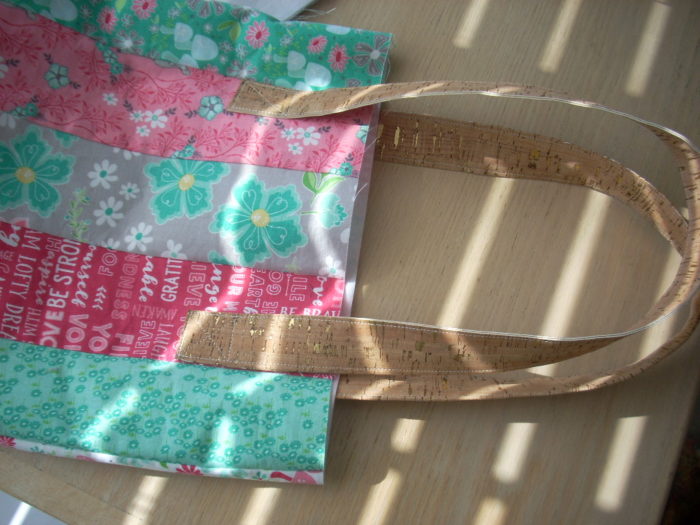
I placed the bottom edge of the strap down 3.5 inches from the top of the bag and sewed them one section in from the side seam…I like to have the strips not so close to the top of the bag for better wear…
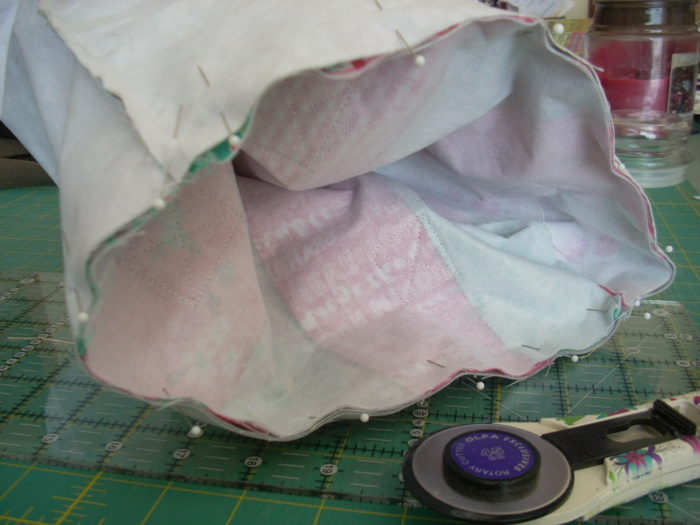
and now the true test..sewing the outer edge seam, right sides together…
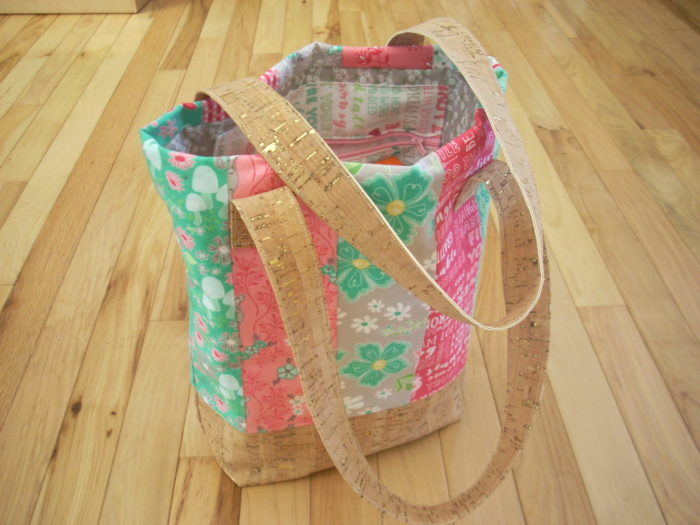
and tadah!!!
I am in love!
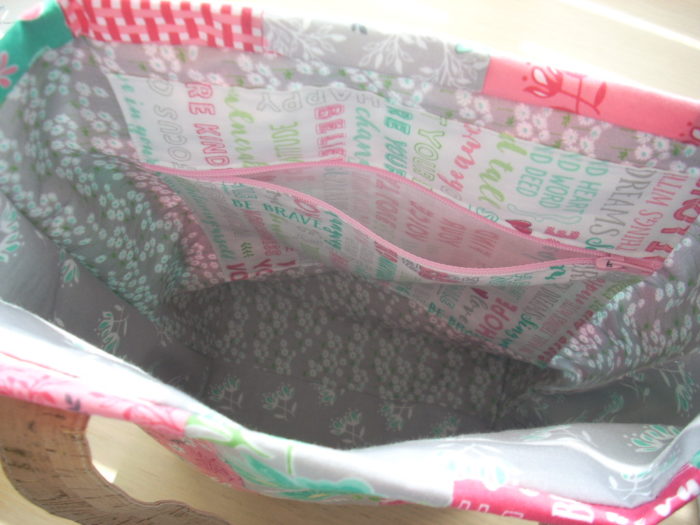
here you can see the inside…
I closed up the side seam opening with a small seam…
you can also see how the outside comes over the top just a bit for a nice accent…
I hope you have enjoyed this project as much as I have!
if you have any questions, please don’t hesitate to reach out to me…brooke@sillymamaquilts.com
Happy Sewing!
